
Add document(s) to the query result
To add documents from query, you need to follow the below given steps:
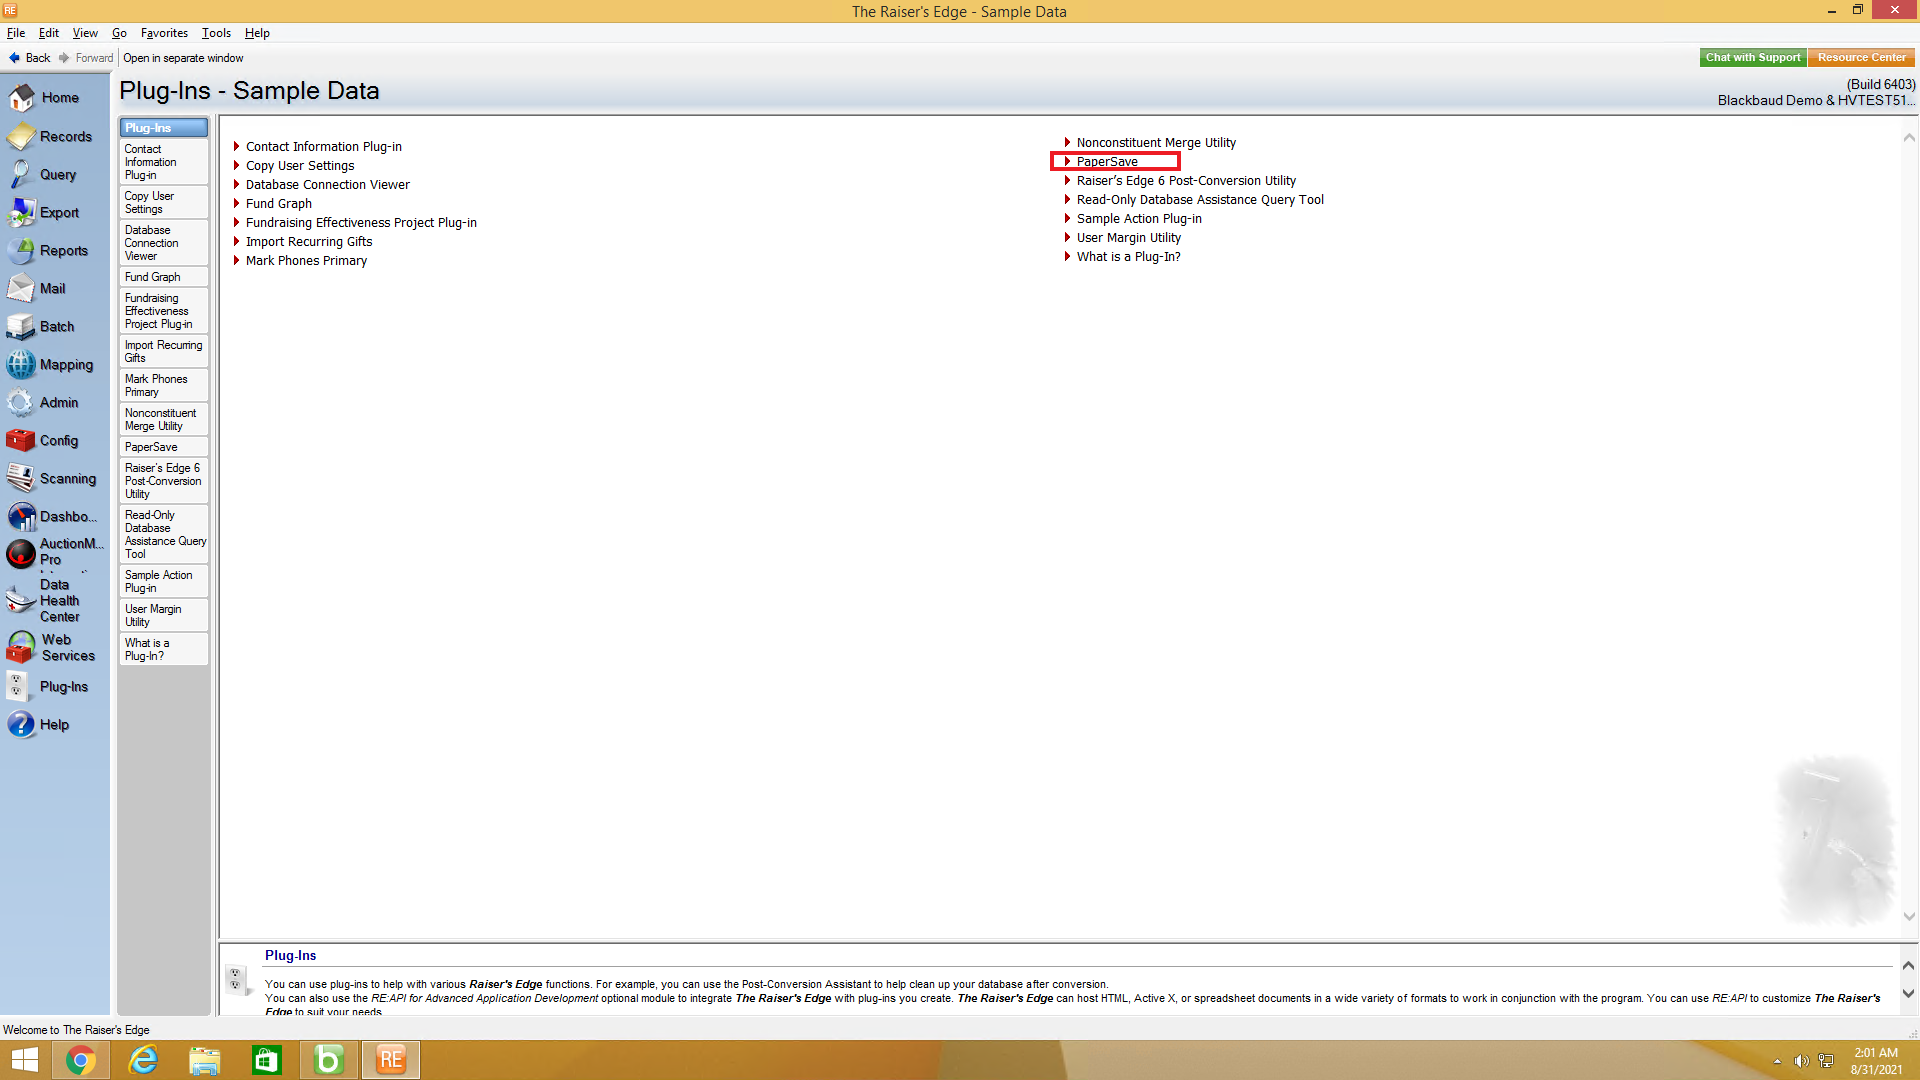
1) First, go to Plug-Ins in the Raiser's Edge bar and select PaperSave to open PaperSave Options window as shown below.
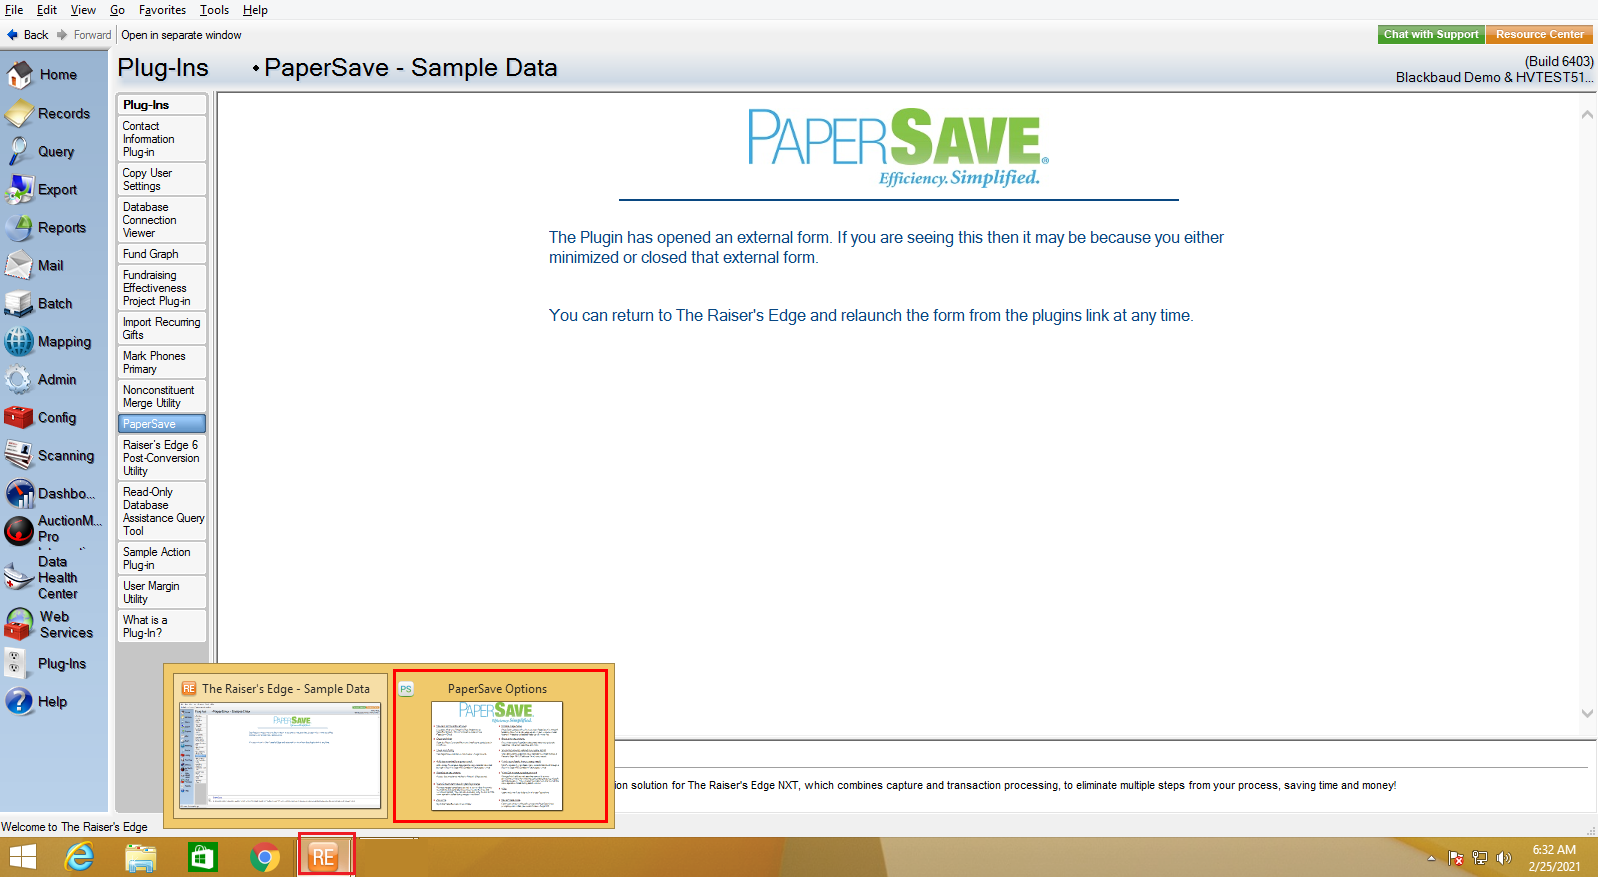
2) Once you click on PaperSave, it opens the PaperSave Options window, which gets automatically minimized. You can hover on the Raiser Edge application icon on the taskbar and select PaperSave Options to maximize the window, as shown in the below screen.
3) Click on the Add document(s) to a query result option from the PaperSave Options Window as shown in the below screen:

4) Now, select your desired query from the "PaperSave - Add document(s) to query results" dialog box and click on Run and Add Documents button, as shown below.

5) You will be redirected to PaperSave's "Add documents from query" window in the browser as shown in the below screen. Here, you need to map 'Query columns' with the PaperSave supported Raiser's Edge record types in the drop down list and click on OK to map the query. You can check the box to "Save mapping for this query" directly from the dialog box.
Note: If you save the current mapping, then you will be automatically redirected to the File capture options page the next time when you add documents from query for the same Record type.

6) Once you click on OK, you will be redirected to the File capture options panel as shown in the below screen.

7) From this add document page, you can navigate to different PaperSave Areas, change the document type, view a list of the query records, save/clear mappings, and acquire the document by using different file capture options.
Note: If the mappings are saved, then the Save Mappings option will be changed to Clear Mappings. You can click on Clear Mappings to create the new mappings.
8) Once you have acquired the document, you will be redirected to the item viewer where you can enter the required values in the profile fields and apply annotations as needed before clicking on Save option from the top-level toolbar to add the document to the selected record.

9) After saving the document, you will be redirected to the File capture options panel. You can also use the navigation arrows to move to the next record in the query to add a document.

10) To view the saved record and associated documents, you can refer to the Show Documents from Query.